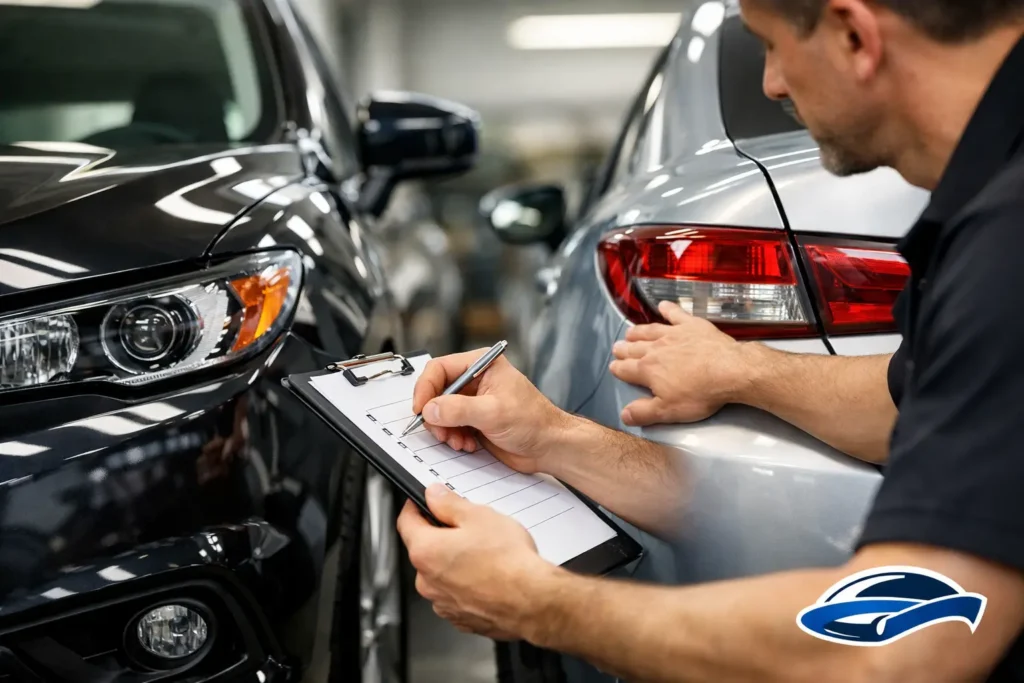
A repair is not finished simply because the vehicle looks clean in the parking lot. Before you sign the final paperwork and drive away, take a few unhurried minutes with this auto body repair quality checklist. It can help you spot questions worth asking while the repair team, documents, and vehicle are all in the same place.
After an accident, most drivers are focused on getting back to normal. That is understandable. Still, collision repairs can involve far more than replacing a bumper or removing a dent. Panels, paint, glass, sensors, lights, mechanical components, and structural areas may all need attention. A careful final walk-around helps confirm that the visible work looks right and that the vehicle feels ready for regular driving.
Start With the Repair Order
Before inspecting the vehicle, compare the final repair order with the estimate and any updates you received during the repair. The paperwork should clearly explain the work completed, including replaced parts, refinishing, repair procedures, and any related mechanical or calibration work.
Some changes between the original estimate and final invoice are normal. Damage behind a bumper cover or panel is often not visible until disassembly begins. What matters is that the changes are explained clearly. If an item on the bill does not make sense, ask what it was for and why it was necessary.
This is also a good time to ask about care instructions. Freshly refinished paint may need a little extra consideration before waxing, polishing, or visiting an automatic car wash. The shop should be able to explain any recommended waiting period and the warranty information that applies to the repair.
Inspect the Exterior in Good Light
If possible, look at your vehicle outside or near a well-lit bay. Low light can hide ripples, color variation, and small imperfections. Walk around the vehicle from several angles rather than inspecting it only straight on.
Check panel alignment and body lines
Look at the gaps around repaired or replaced doors, hood, trunk, liftgate, fenders, and bumpers. The gaps do not need to look identical at every point, since vehicle designs vary, but they should appear even and consistent with the undamaged side of the vehicle.
Follow the body lines with your eyes. A crease that starts on a front fender, for example, should continue naturally into the door or bumper area. Panels should sit securely without corners lifting, rubbing, or appearing pushed in too far. Open and close the hood, trunk, liftgate, or doors that were involved in the repair. They should latch properly and operate without unusual resistance.
Look closely at paint and finish quality
Paint should blend naturally with the surrounding panels under normal viewing conditions. Color can look different in shade, direct sunlight, and indoor lighting, so step back and look from more than one angle. Metallic and pearl finishes deserve an especially careful look because their appearance shifts with the light.
Check for visible dirt particles, rough spots, drips, sanding marks, tape lines, or overspray on adjacent trim and glass. Small areas of texture can occur with automotive paint, but the finish should look consistent and professionally completed across the repaired area.
Do not overlook details such as emblems, moldings, wheel-arch liners, weatherstripping, splash shields, and bumper trim. These pieces should be properly installed, secure, and clean. On a classic car or custom-painted vehicle, ask the technician to walk you through the finish and any special care recommendations. Those projects often involve more detailed decisions about color, materials, and preservation.
Check glass, lights, wheels, and trim
Inspect the windshield, side glass, mirrors, and headlight lenses for scratches or cracks that were not present before the repair. Confirm that headlights, taillights, brake lights, turn signals, hazard lights, and daytime running lights operate correctly.
Look at the wheels and tires near the repaired area. Wheels should not have new scuffs, and tires should appear properly inflated. If the repair involved a suspension impact, wheel, or tire, ask whether alignment or related mechanical inspection was part of the completed work.
Use This Auto Body Repair Quality Checklist Inside the Vehicle
The outside gets most of the attention, but the cabin deserves a thorough look as well. Check the seats, carpets, dashboard, door panels, and headliner for cleanliness and for any new marks. A responsible repair process includes protecting the vehicle while work is being performed.
Start the engine and watch the instrument panel. Warning lights that were not present before should be brought to the shop’s attention before you leave. Test the climate controls, radio, power windows, locks, mirrors, seat adjustments, backup camera, and any other feature near the repair area.
If the airbag system, steering wheel, dash, windshield, bumper, mirror, or front grille area was involved, ask whether relevant driver-assistance systems were checked or calibrated. Many modern vehicles rely on cameras, radar sensors, and other equipment for features such as parking assistance, lane warnings, and automatic emergency braking. These systems may require specific procedures after a collision or component replacement.
A dashboard free of warning lights is reassuring, but it is not a substitute for asking about the work performed. Clear communication is part of quality repair, especially when a vehicle has technology that is not obvious from the driver’s seat.
Take a Short, Careful Test Drive
A brief test drive can reveal concerns that are difficult to notice while parked. Keep the first drive simple and close to the shop when possible. Listen for rattles, rubbing, wind noise, vibrations, or pulling that seems different from before the accident.
Pay attention to steering feel, braking response, and how the vehicle tracks on a level road. Make a few normal turns and, when safe, test the brakes gently. If a door, hood, trunk, or liftgate was repaired, listen for air noise at road speed and check again that it closes securely afterward.
Not every new sound is caused by collision work. A loose item in the cabin, a pre-existing mechanical issue, or road conditions can all play a role. Still, it is always better to mention a concern promptly rather than assume it will go away. A good repair shop wants the opportunity to inspect the concern and explain the next step.
Make Sure Safety and Structural Work Is Documented
Cosmetic repairs are easy to see. Structural and safety-related repairs are not. If your vehicle had a significant impact, ask the shop to explain any frame, unibody, suspension, restraint-system, or mechanical work completed.
You do not need to become a collision technician to ask useful questions. Ask whether damaged components were repaired or replaced, whether measurements or alignment checks were completed when needed, and whether any safety-system procedures applied to your vehicle. The answers should be straightforward and supported by the repair documentation.
This step matters because a vehicle’s appearance is only one part of the repair. Proper fit, operation, and attention to the systems behind the panels all contribute to confidence in the vehicle when you return to daily commuting, school drop-offs, or longer trips.
Address Questions Before Leaving
If you notice an issue, point it out calmly and specifically. Instead of saying the paint looks wrong, explain what you see: a color difference near the rear door, a rough spot on the bumper, or a trim piece that does not sit flush. Specific observations help the team inspect the right area quickly.
Take photos if needed, especially if you are returning later for an adjustment. Keep your estimate, final invoice, warranty information, and insurer-related documents together. If an insurance claim was involved, the repair shop can often help explain the completed work and provide the documentation you need, though coverage decisions remain with the insurer.
At Carbon Collision Repair, we believe a final vehicle review should feel clear, not rushed. Whether your repair involved a minor scrape, a collision, or more extensive structural work, asking questions at pickup is part of taking care of your vehicle. Give yourself the time to look it over, drive it thoughtfully, and leave with a clear understanding of the work completed.