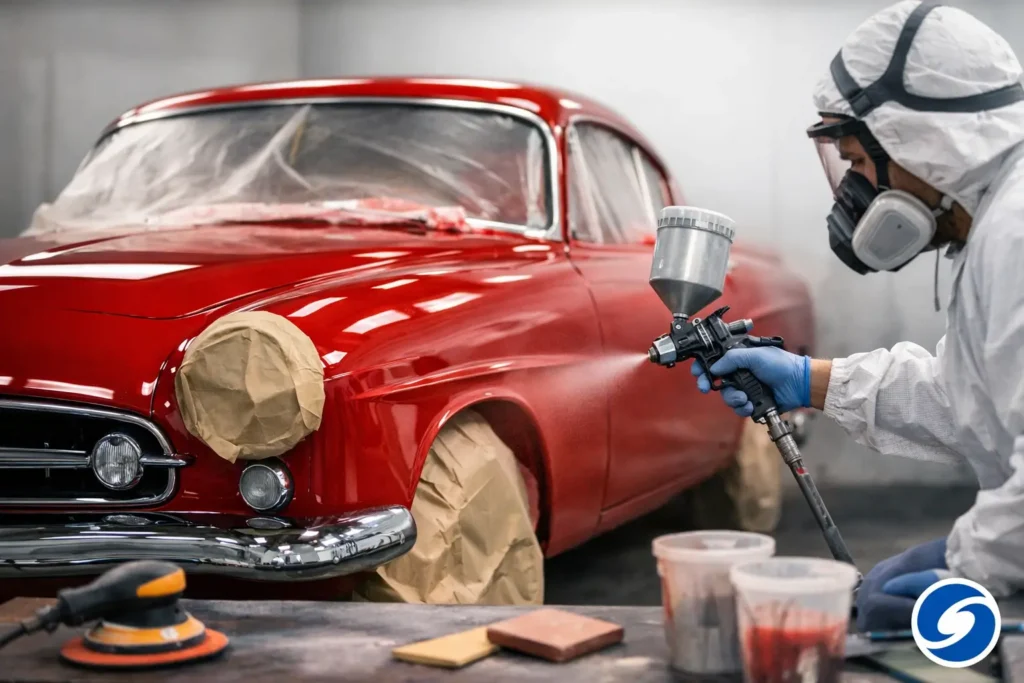
A classic car can look complete at first glance while hiding years of paint layers, moisture damage, small repairs, and uneven bodywork underneath. That is why a guide to classic car repainting should begin before color selection. A quality repaint is not simply about making an older vehicle shine again. It is about understanding the car’s condition, respecting its history, and building a finish that will hold up after it leaves the shop.
For collectors and enthusiasts, repainting also involves a personal decision. Some owners want a factory-correct restoration that honors the vehicle’s original character. Others want a custom color or finish that makes the car their own. Both approaches can be worthwhile when the work begins with an honest assessment and a clear plan.
A Guide to Classic Car Repainting Starts With Inspection
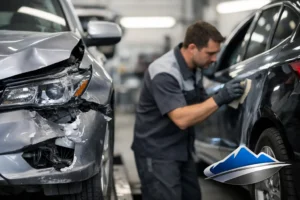
The visible condition of the paint tells only part of the story. Fading, cracking, peeling, orange peel texture, and mismatched panels can all point to a previous repair or an aging paint system. More concerning signs include bubbling near wheel openings, lower doors, rocker panels, windshield channels, and panel seams. Those issues may indicate corrosion below the surface.
A proper inspection considers the paint, body panels, trim, glass, seals, and prior repairs together. A car that has been repainted several times may have thick paint buildup or body filler that needs closer attention. Paint applied over unstable material can look good briefly, then crack, lift, or reveal repair lines later.
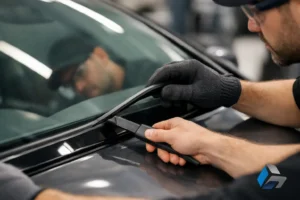
The right level of disassembly depends on the vehicle and the goal of the project. Removing trim, lights, weatherstripping, handles, and other components generally produces cleaner paint edges than masking around them. On a full restoration, further disassembly may be appropriate so hidden rust and panel damage can be addressed. That requires more labor, but it often prevents the new finish from being compromised by problems left underneath.
Decide What You Want the Repaint to Accomplish
Before bodywork begins, define the purpose of the repaint. Are you preserving a driver-quality classic, preparing a vehicle for shows, correcting accident damage, or restoring a family car with sentimental value? The answer affects the scope of repairs, paint choice, level of disassembly, and overall investment.
Originality matters to many classic-car owners. If the vehicle has its factory paint, even worn paint can have historical value. A thoughtful inspection can help determine whether careful correction and preservation make more sense than a complete respray. If repainting is the right choice, returning to the factory color may support the car’s period-correct appearance and broad appeal.
A color change is a different project from a same-color repaint. For a complete color change, door jambs, under-hood areas, trunk openings, and other visible surfaces may need to be refinished as well. Painting only the exterior can leave the old color visible when doors, hood, or trunk are opened. There is nothing wrong with choosing a new color, but owners should understand the added preparation needed for a finished, consistent result.
Repair the Metal Before Refinishing It
Paint cannot correct dented metal, rust holes, weak panel edges, or poor prior repairs. The most durable results come from taking the time to repair the body properly before primer and color are applied.
Surface rust may be manageable when caught early, but rust that has spread through metal usually calls for more than sanding and filler. Depending on the affected area, the repair may involve cutting out damaged metal, fabricating a patch, replacing a section, or installing a replacement panel. This work is especially common around quarter panels, fenders, floors, lower doors, and wheel arches on older vehicles exposed to Midwest weather.
Panel alignment deserves the same attention as the surface itself. Gaps around doors, hoods, trunks, and fenders should be evaluated before final paint. A freshly painted panel that does not sit correctly can take away from the overall restoration. Aligning panels before refinishing helps ensure the car looks intentional from every angle.
Preparation Is Where Repaint Quality Is Won or Lost
Most of the work in classic car repainting happens before the final color is sprayed. The existing finish may need to be sanded, feathered, sealed, or removed, depending on its condition and compatibility with the new paint system. In some cases, stripping to bare metal is appropriate. In others, removing every layer can add time and expense without improving the outcome.
The decision depends on what is already on the car. If the existing paint is sound, properly adhered, and free of hidden repair concerns, it may serve as a stable foundation after thorough preparation. If it is checking, peeling, excessively thick, or covering poor bodywork, more extensive removal is usually the better path.
After metal and body repairs are complete, the vehicle moves through primer, blocking, and repeated surface checks. Blocking is the careful sanding process that helps straighten panels and reveal low or high areas. It is demanding work, but it makes a major difference in how reflections look across the finished paint. On a classic vehicle with long body lines, unevenness that seems minor in primer can be obvious once gloss is applied.
Cleanliness also matters. Dust, silicone, wax residue, and moisture can create defects in a finish. A controlled painting environment, proper masking, material compatibility, and careful cleaning help reduce those risks. No paint job is immune to normal wear over time, but disciplined preparation gives the finish its best chance to look consistent and last well.
Choose a Paint System That Fits the Car and Its Use
Modern automotive paint offers more durability and color consistency than many original finishes, but the best choice still depends on the vehicle. A regularly driven classic needs a finish that can handle sun, road debris, washing, and seasonal changes. A show-focused vehicle may call for a different level of correction and detailing.
Single-stage paint combines color and gloss in one product. It can be a fitting choice for certain period-correct restorations and solid-color vehicles. Basecoat-clearcoat systems use a color layer followed by clear coat, offering strong gloss, depth, and repair flexibility. Metallic and pearl colors are commonly handled with basecoat-clearcoat systems because the clear layer helps protect the color and enhance its appearance.
The original finish may guide the decision, but it does not have to control it. Some owners prefer a modern system for easier maintenance and better long-term protection. Others want the appearance associated with the car’s era. Discussing how the vehicle will be stored, driven, and maintained helps determine a sensible balance between authenticity and practicality.
Plan for the Details Around the Paint
A classic repaint involves more than panels and color. Chrome, stainless trim, emblems, bumpers, lenses, weatherstripping, wheel wells, and glass openings all influence the final presentation. Old seals can be brittle, and reused trim may need cleaning, repair, or refinishing before it is reinstalled.
This is also the time to consider whether other work should be completed while access is available. A windshield channel with corrosion, a damaged window regulator, a dented bumper, or a misaligned hood may be easier to address before the final reassembly. Combining related repairs can make the project more efficient and avoid disturbing fresh paint later.
Clear communication is especially valuable on classic vehicles because parts availability can vary. Some replacement pieces are readily available, while others may require restoration, sourcing, or owner approval before work can continue. A good repair plan identifies these decision points early rather than treating them as surprises near the end of the job.
Care for the Finish After Repainting
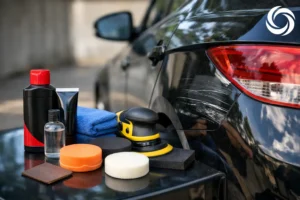
Fresh paint needs time to cure, and the recommended care depends on the paint materials and repair process. Your repair professional can explain when it is appropriate to wash, wax, polish, or use a car cover. Avoid harsh cleaners, abrasive towels, and automatic washes that use aggressive brushes, especially during the early care period.
Once the finish has fully cured, regular hand washing with clean microfiber materials helps remove road film and contaminants without unnecessary scratching. Parking indoors when possible, addressing bird droppings or tree sap promptly, and using a quality protective product can all help preserve the appearance of the vehicle.
A classic car deserves more than a quick coat of color. It deserves careful evaluation, honest recommendations, and workmanship that respects the time and story behind it. For owners in northeastern Illinois and southeastern Wisconsin, Carbon Collision Repair can provide a professional assessment of what your classic needs before the repainting process begins.